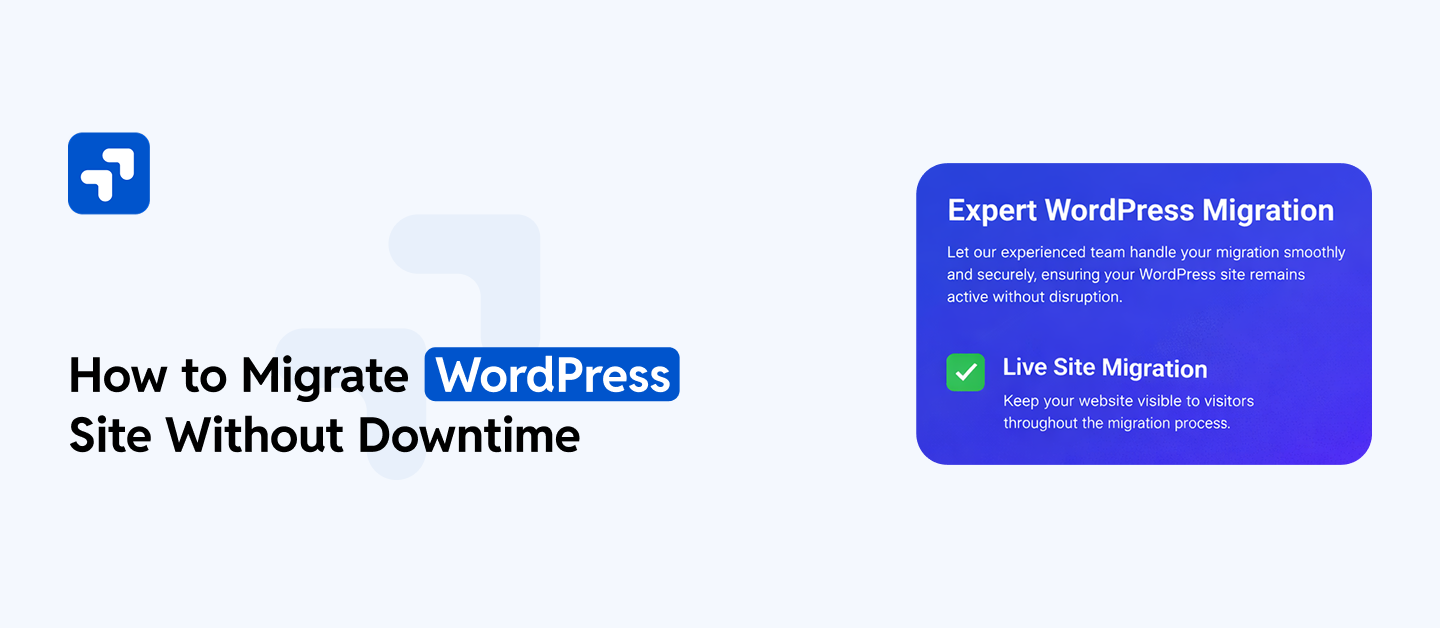
Website downtime is every site owner’s worst nightmare. Every minute your WordPress site is offline, you risk losing revenue, search engine rankings, and user trust. Many people put off moving to a better hosting provider simply because they fear the transition will break their website or leave visitors staring at an error page.
You can move your entire WordPress installation to a new server without a single second of downtime. The secret lies in a careful, systematic approach. Instead of shutting down your current site to move files, you will create a perfect clone on your new server behind the scenes. Your visitors will continue browsing the old server while you set up the new one.
By preparing your files, testing your new environment locally, and timing your DNS switch perfectly, you ensure a seamless transition. This guide walks you through the exact steps required to migrate your WordPress site without dropping a single connection.
Choose Your Migration Method
Before moving any files, you need to decide how you will transfer your data. You have two primary options: using a migration plugin or performing a manual transfer.
Migration plugins like Duplicator or All-in-One WP Migration handle the heavy lifting by bundling your site into a single archive file. They then unpack this file on the new server. This route is highly recommended for most users due to its simplicity and low margin for error.
Manual migration requires you to move files via FTP and export your database through phpMyAdmin. This method gives you complete control over the process and is sometimes necessary for massive websites that time out during plugin backups. For this guide, we will focus on the manual method, as it guarantees the most control for achieving zero downtime.
Step 1: Prepare and Backup Your Existing Site
Never start a migration without a safety net. Your first step is to create a complete backup of your current website.
Export the Database
Log into your current hosting control panel and open phpMyAdmin. Select your WordPress database, click the Export tab, and choose the ‘Quick’ export method with the SQL format. Save this file to your computer.
Download Your Files
Connect to your current server using an FTP client like FileZilla. Navigate to your root directory (usually public_html) and download all files to a local folder. Depending on your site’s size, this download could take anywhere from a few minutes to several hours. Leave your existing site completely untouched and live during this process.
Lower Your DNS TTL
Time to Live (TTL) dictates how long servers cache your DNS records. By lowering your TTL to 300 seconds (5 minutes) a day or two before the migration, you ensure that your eventual DNS switch happens rapidly across the globe.
Step 2: Set Up Your New Hosting Environment
With your site safely backed up locally, it is time to prepare your new home. Log into your new hosting account to create an empty space for your WordPress site.
Add Your Domain
Add your existing domain name to your new hosting dashboard. Do not change your domain’s nameservers yet. Changing them now would point visitors to an empty server, causing immediate downtime.
Create a New Database
Navigate to the MySQL Databases section of your new host. Create a new database, a new database user, and a secure password. Assign the user to the database with full privileges. Write down the database name, username, and password, as you will need them shortly.
Step 3: Transfer Your Files and Database
Your new server is ready to receive your website’s data.
Upload the Files
Open your FTP client and connect to your new hosting account using the IP address provided by your new host. Upload all the WordPress files you previously downloaded into the new root directory.
Import the Database
Open phpMyAdmin on your new host, select the empty database you just created, and click the Import tab. Upload the SQL file you saved from your old host.
Update wp-config.php
Your new server now holds your files and database, but they are not communicating. Open the wp-config.php file on your new server and update the database details with the new credentials you created in Step 2.
Step 4: Test Your New Site Locally
This step is the absolute most critical part of a zero-downtime migration. You must verify that the new site works perfectly before sending public traffic to it. Since your domain still points to your old host, you need a way to force your personal computer to load the new server. You will do this by editing your computer’s hosts file.
Find Your New IP Address
Locate the specific IP address of your new server within your new hosting dashboard.
Edit the Hosts File
Modifying the hosts file tells your local computer to map a specific domain to a specific IP address, bypassing public DNS servers.
- On Windows: Open Notepad as an Administrator. Open the file located at
C:\Windows\System32\drivers\etc\hosts. - On Mac: Open the Terminal and type
sudo nano /private/etc/hosts.
Add a new line at the bottom of the file with your new IP address followed by your domain name. It should look something like this:192.168.1.50 yourdomain.com
Save the file and clear your browser cache. When you type your domain name into your browser, you are now looking at the version hosted on your new server. Click around to ensure all images load, links work, and the admin dashboard functions properly. Once you confirm everything is flawless, remove that line from your hosts file and save it again.
Step 5: Update Your DNS Records
You have fully cloned your site, and you know the new version works. Now you can safely flip the switch.
Log into your domain registrar and navigate to the DNS management page. Update your nameservers or A records to point to your new hosting provider. Because you lowered your TTL in Step 1, these changes will begin propagating across the internet almost immediately.
During the propagation window, some visitors will be directed to your old host, while others will land on your new host. Because both servers contain identical, fully functional versions of your website, no one will experience any downtime.
Frequently Asked Questions
How long does DNS propagation usually take?
With a lowered TTL, DNS propagation can occur in just a few minutes to a few hours. Without adjusting the TTL, standard propagation can take up to 48 hours to complete globally.
Will migrating my site affect my SEO?
If executed properly using this zero-downtime method, a migration will not harm your SEO. Search engine crawlers will experience uninterrupted access to your site. Moving to a faster, more secure host can actually improve your search engine rankings over time.
When should I cancel my old hosting plan?
Keep your old hosting account active for at least one full week after updating your DNS records. This provides a generous buffer for global DNS propagation to finish completely. Once you verify that zero traffic is hitting the old server, you can safely cancel the plan.
Should I put my site in maintenance mode?
If you run an active e-commerce store or a busy membership site, transactions might occur on the old server during the propagation window, resulting in lost data. In these specific cases, putting the site in maintenance mode for a brief period is safer than risking split databases. For standard blogs or brochure sites, maintenance mode is entirely unnecessary.
Enjoy Your Upgraded Hosting Experience
Successfully moving a website takes patience and attention to detail. By running two identical versions of your site simultaneously and using local testing methods, you eliminate the risks typically associated with server transitions. You can now take full advantage of your new hosting environment’s improved speed, security, and features without having dropped a single visitor along the way.